A Mac Mini can be an incredible home server in the era of small self-made projects. TinyServe automates the hosting part.
Install
$ brew install tinyserve
A Mac Mini can be an incredible home server in the era of small self-made projects. TinyServe automates the hosting part.
$ brew install tinyserve
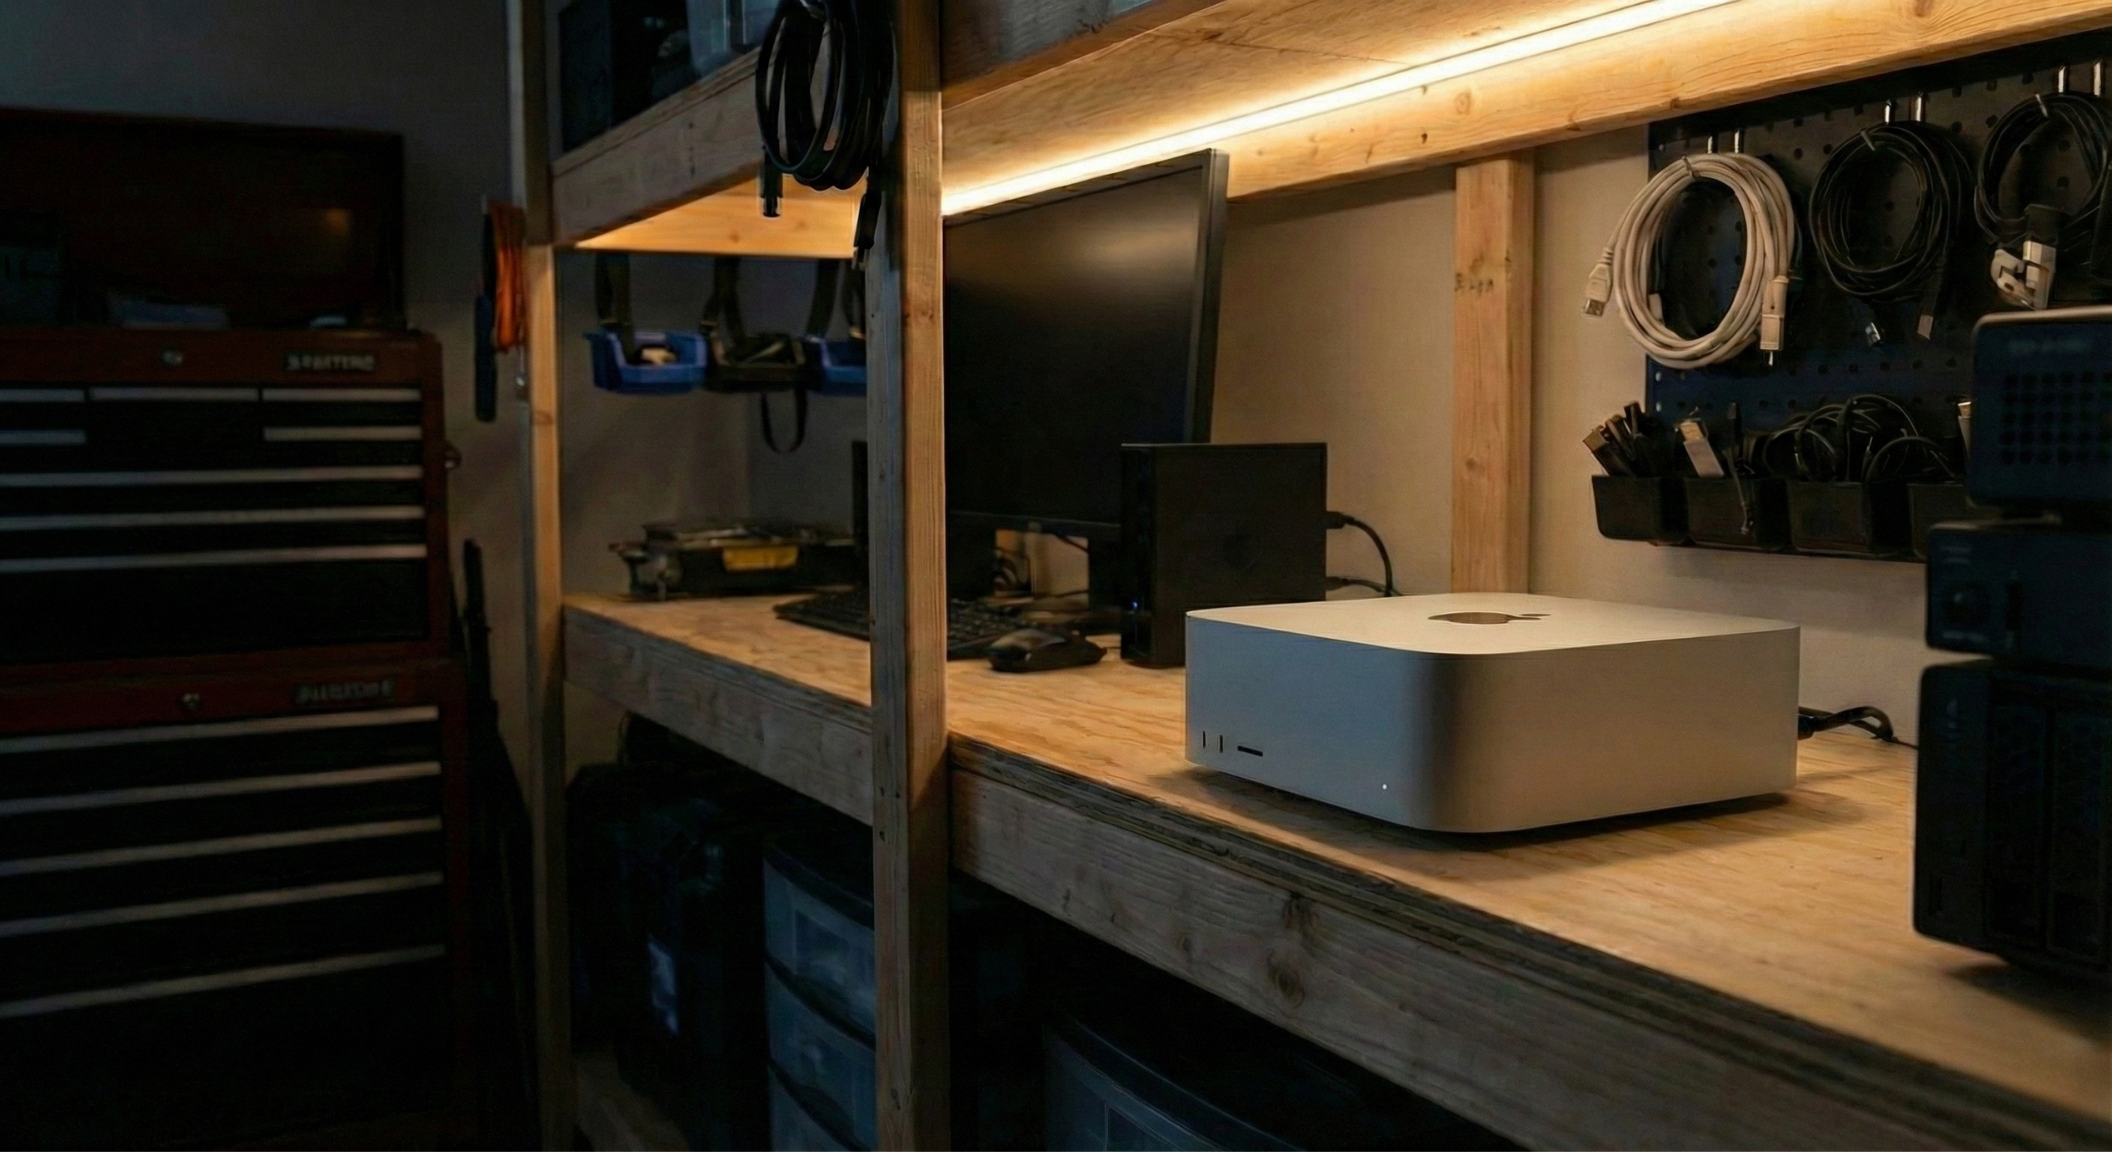
Get started from scratch. Plug it in to power and get it online, preferably with a Ethernet.
System updates:
xcode-select --install (accept the prompt).Create a dedicated admin user (recommended):
Enable remote access:
Note your machine's IP address and hostname:
# Local hostname (usable as <hostname>.local on the same network)
scutil --get LocalHostName
Install Homebrew, then add it to your PATH and verify it works.
# Install Homebrew
/bin/bash -c "$(curl -fsSL https://raw.githubusercontent.com/Homebrew/install/HEAD/install.sh)"

# Apple Silicon: add to your shell profile
eval "$(/opt/homebrew/bin/brew shellenv)"

# Verify
brew --version
Follow the on-screen instructions to add Homebrew to your PATH.
Pick one:
brew install colima docker then colima start --arch aarch64 --vm-type vz --cpu 4 --memory 8.docker CLI points at the Lima socket.# Ensure Docker daemon is running
docker info
docker ps
Optional: auto-start Colima on login with brew services start colima.
Troubleshooting:
Cannot connect to the Docker daemon: the VM isn't running. Start Colima/Rancher.docker: command not found: install Docker CLI with brew install docker.permission denied: check that your user can access the Docker socket.brew tap tinyserve/tinyserve
brew install tinyserve
brew service start docker
# Important to verify all prerequisites
tinyserve checklist
Prepare a Cloudflare API token with Tunnel + DNS permissions for your domain.
Run interactive init to create the tunnel and set defaults:
tinyserve init
If you choose to use Cloudflare Tunnel, TinyServe will:
~/Library/Application Support/tinyserve/cloudflared/.default_domain and wire the tunnel to Traefik.Optional: direct public exposure (no Cloudflare Tunnel)
remote enable [--hostname H | --ui-hostname H] [--api-hostname H] [--cloudflare] [--deploy]
If you want UI and API to be accessible for internet, check REMOTE.md.
tinyserve service add --image my_docker_image:v1.10
See ADD_NEW_SERVICE.md for more details.
Set up S3-compatible backups before running production workloads. See docs/BACKUP_RESTORE.md for scripts, schedules, and restore steps.
tinyserve checklist
Verify Docker and other prerequisites
tinyserve init --domain example.com --cloudflare-api-token $CF_API_TOKEN --tunnel-name tinyserve-home
Initialize Cloudflare Tunnel and set the default domain
tinyserve service add --name whoami --image traefik/whoami:v1.10 --port 80
Add a service using the default domain
tinyserve deploy
Deploy services with health checks and promotion
tinyserve status
Show daemon health, proxy status, and service count
tinyserve logs --service whoami --tail 100
View logs for a specific service